***************************************
Hey, y'all! My name is Stacy, and I write a little blog called She's{kinda}Crafty. I am thrilled to be on Serenity Now to share with you a fun and easy holiday DIY!
Supplies:
-Mini Ornaments (got mine at Target - $3 a box & the little bitty ones at Hobby Lobby for $1)
-Small wooden ring ($0.99 from Michaels in the floral craft aisle)
-Hot glue gun and glue
-4x4" photograph
-8-10" of coordinating ribbon or twine for the hanger
-Tape
While your hot glue gun is heating (on the low setting so you don't burn yourself...as much), remove the metal caps from the ornaments.
Pick a starting point and glue one ornament, upside down, on to the wooden circle. Hold that first ornament in place until the glue sets. You won't have to do this for every one, but you need a strong base to build off of.
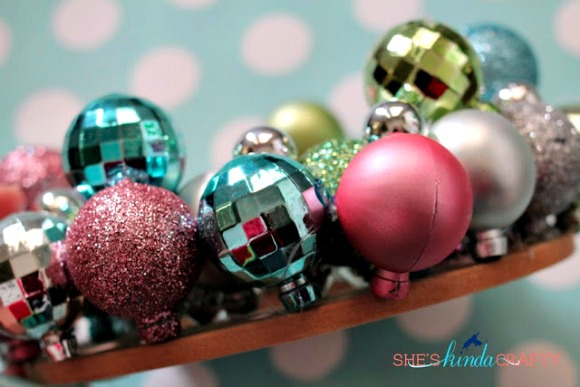
Working off the first ornament that is set in place, use your hot glue gun to attach connecting ornaments all the way around the wooden base. I found it easier to glue the ornaments to the other ornaments instead of gluing them all to the base. However, every 2 or 3 ornaments also add some glue to ornament/wooden base connection points, to make sure everything is secure.
As you can see above, not every ornament is actually attached to the base.
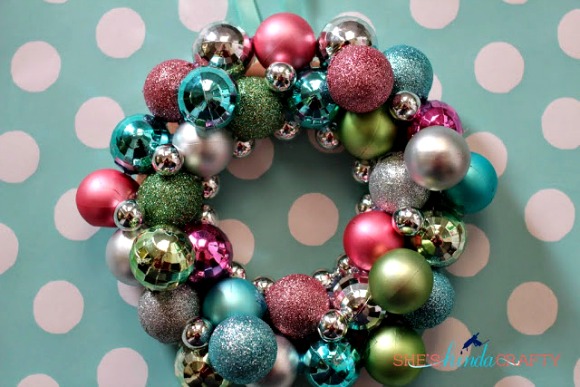
Once I was done with the "larger" ornaments I scattered the teeny tiny ornaments in the gaps between larger ones and glued them in place.
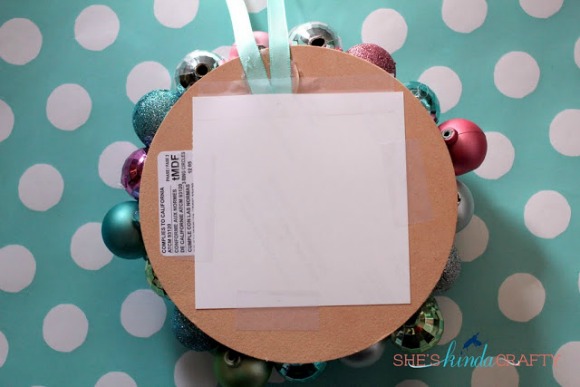
Flip that baby over and using a large dollop of glue create a loop with your ribbon or twine.
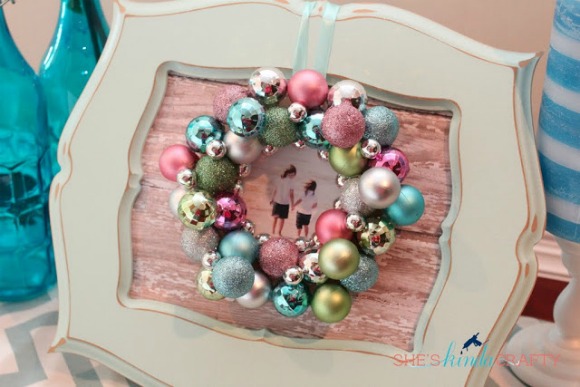
We don't have a Christmas tree up yet, so I brought the frame outside to my holly tree to see how sparkly and fun it is going to look when it's hanging up on our tree with all the twinkling lights!

Thanks, Stacy! I love everything about about this project...you know I am a fan of anything shiny and sparkly!
What kind of photo would you display in an ornament frame?
She's {kinda} Crafty showcases all kinds of creative projects: wreaths, printables, parties, decorating, and more! Stop by and tell Stacy I sent you!
For more creative Christmas projects and ideas, check out my current series, A Season of Serenity at Home.
If you liked this post or found it helpful, I hope you'll click your "Pin It" button to add this post to Pinterest, or a +1 for Google+.


This is positively adorable!!! Think this one's getting added to my "must make" list! Thanks for sharing! :)
ReplyDeleteSorry, I'll try again! :) Adorable Stacy, I especially love the colors with the pic of your girls.
ReplyDeleteThis is adorable! I must make one. The colors are great and they go so well with the photo! I'd definitely add a photo of my kids too :)
ReplyDeletexx
Lia
Smart n Snazzy
Great job!! I love the colors and I really like that you made it into a picture frame, so clever :)
ReplyDeleteSuch a good idea! I have a tree up, but I actually prefer the ornament frame against the white picture frame it looks SO pretty! Perfect for bringing a little holiday decoration to my little one's nursery. Thanks for the idea!
ReplyDeleteWhat a cute idea, it looks great! Thanks for sharing. =)
ReplyDelete~ Catie
Sooo adorable! Love this idea, Amanda! Great job!
ReplyDeleteThis is adorable! I love that it's teeny tiny and can be interchangable with new photos. I'm also thinking it'd be agreat way to use old cardboard boxes - cut them up to the size back you'd like.
ReplyDeleteThanks so much for sharing. What a fun project!
This is so adorable! I may have to make one!
ReplyDeleteI have a Christmas ball wreath on my front door and I LOVE it!
So cute and I love the colors she used.
ReplyDeleteThis is a wonderful project! I've always wanted to make an ornament wreath, but I've just about giving up on making one. . . but maybe I could handle one of this mini versions! It would be fun to put a photo of my guys from back when they were little boys and Christmas morning was so exciting. I miss those days!
ReplyDeleteThis is a great series, Amanda. And I agree with you--Stacy is more than "kinda" crafty!
What a great idea! I love the colors of the ornaments too.
ReplyDeleteThat's adorable!
ReplyDeletePinning this. . how fun!!
ReplyDeleteThis is such a cute & easy picture frame! Perfect for the season. I love it!
ReplyDeleteDebbie :)