While I am deliriously excited that my laptop is back up and running, I have a lot of work to catch up on from those three lost days. My friend Brittany from the popular DIY blog, Pretty Handy Girl, offered to share a great DIY Home Decor post with you all today. She's going to show you how to recreate some pretty glazed pears, inspired by Ballard Designs...without the Ballard Designs price tag!
Please do help me welcome Brittany to the blog today!
*************************************
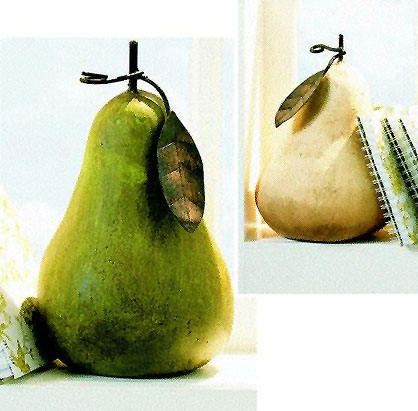
Have you seen these deliciously rustic pears from Ballard Designs?
They are really cute and décorlicious until you see the price tag: $49 each!
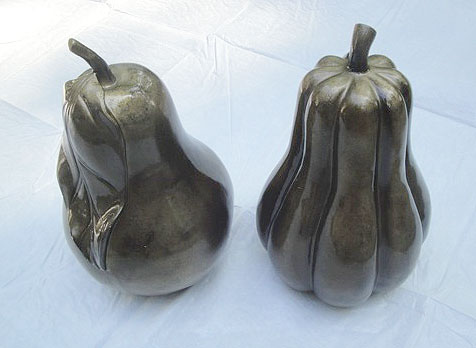
What?! Obviously I'm not the only one who thinks that price is outrageous, because when I googled "Ballard Pear" to find the above photo for you, I stumbled across Sarah's version of the pear. That's why she's called "Thrifty Decor Chick".
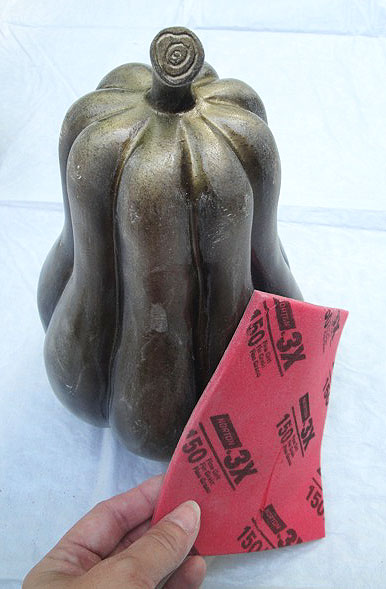
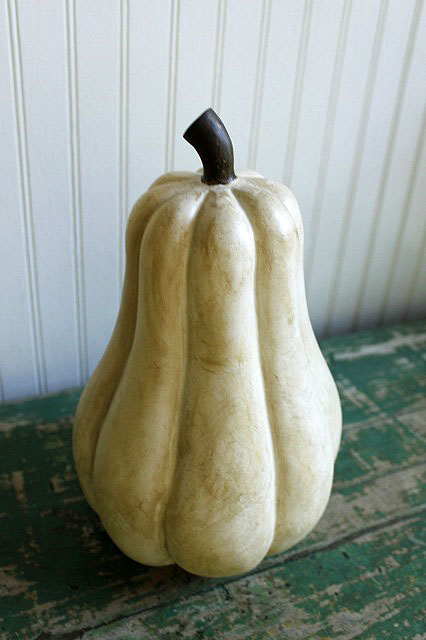
As fate would have it, while at Goodwill, I almost tripped over this pair of pears — okay, it's actually a pear and a gourd, but it's more fun to say "a pair of pears"! They are quite an ugly pair aren't they? (Hardy har har...okay, I'll stop with the pear jokes.
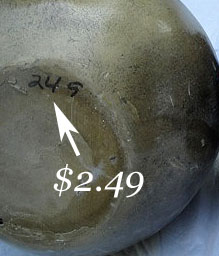
The price was irresistible at $2.49 a piece! Would you like to learn how I turned that ugly pair into Ballard knockoffs? YES?! Whoa Nelly, not so fast! I think it's only polite that I introduce myself first. My name is Brittany, aka Pretty Handy Girl. Yup, that's me replacing my own light fixture.
You can totally replace your own, just follow my tutorial. I won't bore you with the rest of the details about my life. But, I will tell you that my motto is "If a human being can do it, then there is a 95% chance I can do it too." This motto is one I work feverishly hard to pass on to my readers. So, if you want step-by-step tutorials for anything from home décor to home repairs and improvements, I'm your gal.
And now, a little tutorial for you on painting and glazing a knock off Ballard pear:
Materials:
- Spray primer
- Rustoleum Heirloom White
- Fine sandpaper
- Fan brush
- Craft paints (dark green, off-white, creamy yellow, raw sienna, burnt sienna, and yellow ochre)
- Acrylic Matte Medium
- Paper plate
Instructions: Start by sanding the surface of the pear (or gourd)
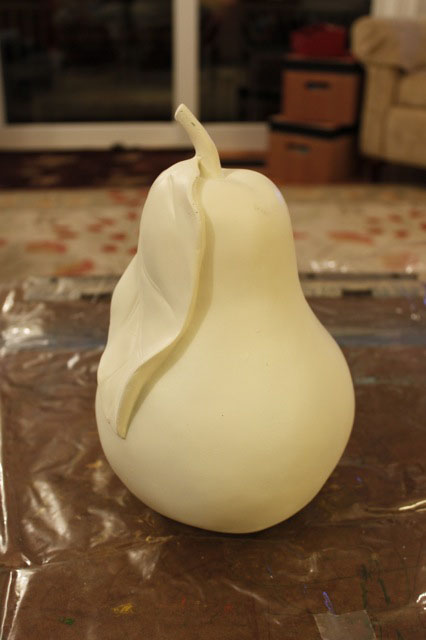
Spray evenly with the spray primer:
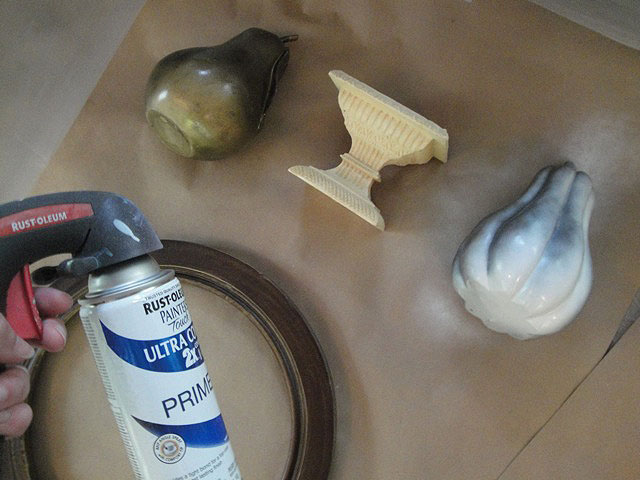
After the primer dries, coat with two - three light coats of Rustoleum's Heirloom White Satin finish.
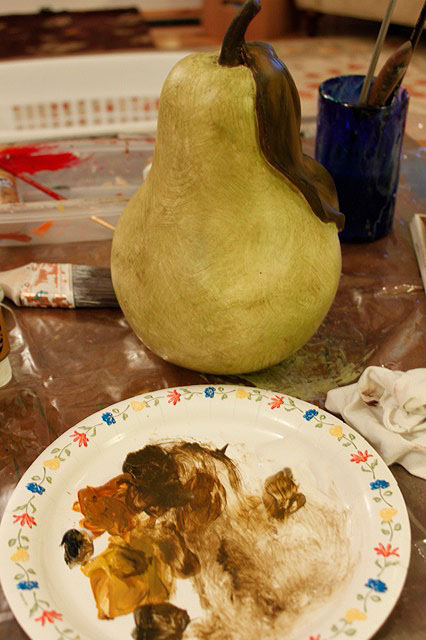
On the paper plate, mix some acrylic paint in dark green, off white, and a creamy yellow. Blend the colors until you achieve a nice apple green color. Use a vibrant color because the color will be toned down after adding the brown antiquing glaze.
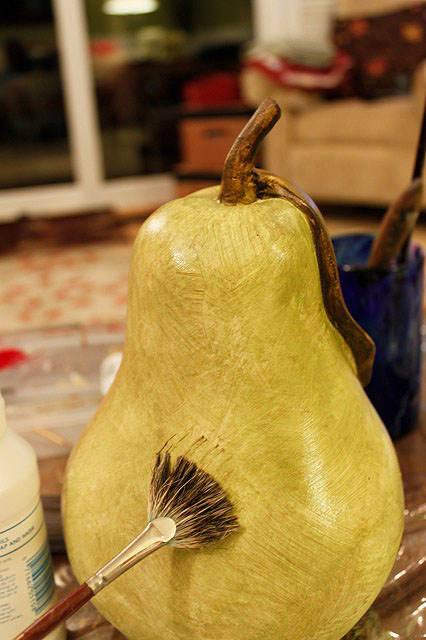
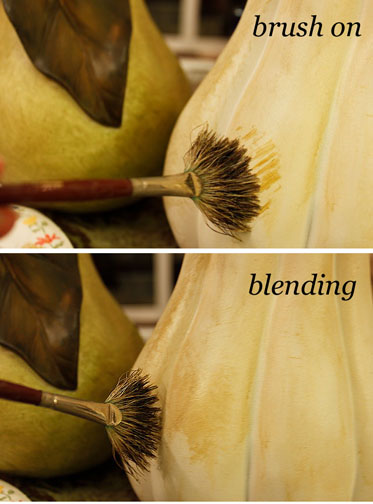
Use the fan brush to dab paint onto the pair in random direction strokes.
After the paint has dried, it's time to glaze. Mix raw sienna (dark brown), burnt sienna (red brown) and yellow ochre to create a nice golden brown antiquing color. Add some matte medium to create a glaze.
Use the fan brush to lightly paint the glaze onto the pear (use the same random stroke pattern as before.) Brush it on and blend the glaze until you reach the desired effect.
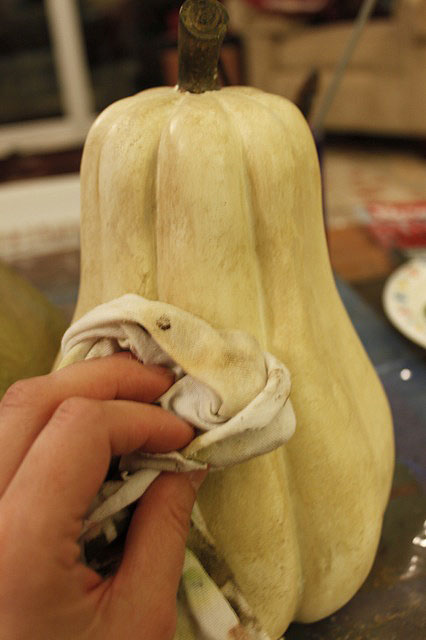
Work in small areas. Don't blend too much. The visible brush strokes add interest and texture. If you have too much glaze, use a rag to dab some of the glaze off.
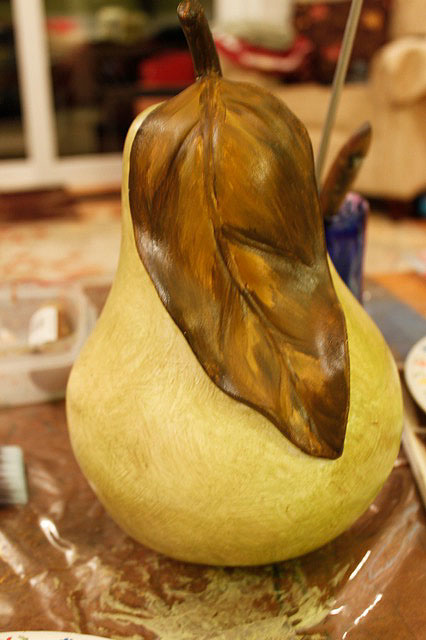
Paint the pear's leaf and stem with dark brown (raw sienna) paint. Dab in yellow ochre highlights while the brown is still wet. (The leaf on my pear has about four layers of paint blended to achieve the look I liked. Acrylic paint is really forgiving because if you don't like it you can paint over it again and again.)
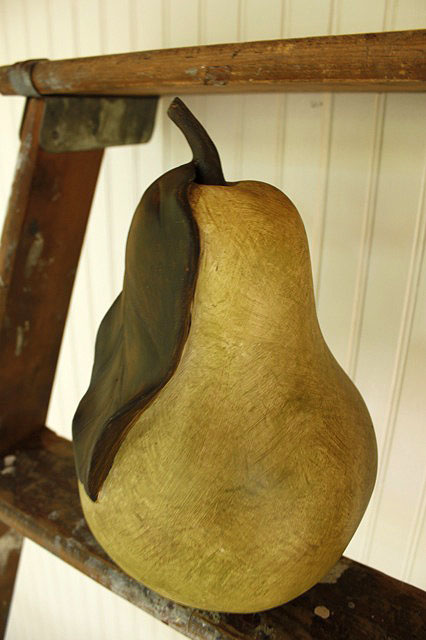
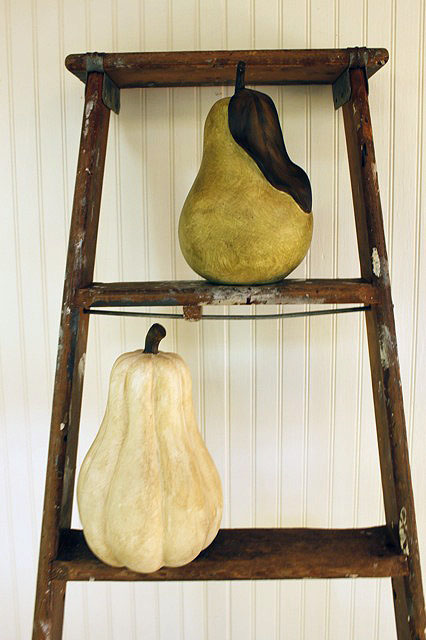
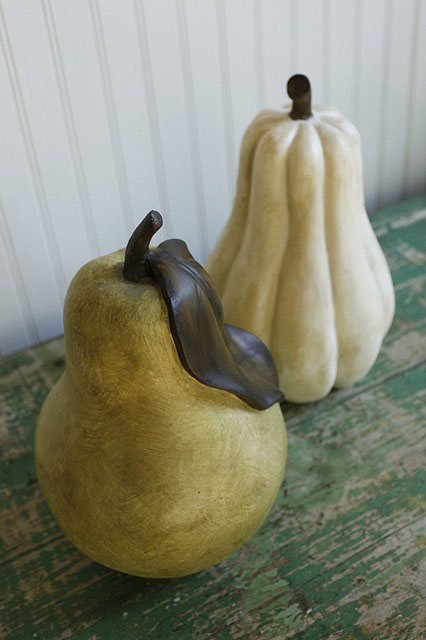
For $5 (plus paint supplies I already owned) I saved myself about $95 on two Ballard Pear decor items (not to mention shipping costs.)
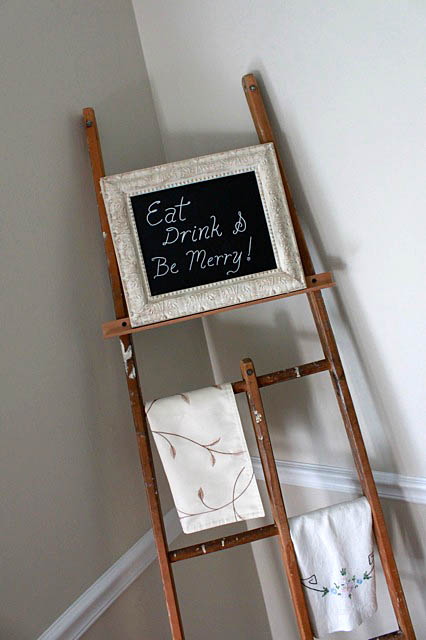
Do you like my old ladder? I made two pieces of furniture from that one ladder. The front became ladder display shelves. And the back is now an easel.
First come paint, then comes glaze...
Then comes a pair of pears! Hahahaha. Sorry, I'm so juvenile.
If you liked my tutorial for painting knock off Ballard Pears, you can see more of my crafty transformations here.

Or if you are feeling more adventurous, come check out some of my other DIY projects.

See ya' later alligators!

*********************
Have you completed any thrift store makeovers on home decor items lately?
Thank you, Brittany, for the guest post! I love repurposing thrift store items...what a great makeover!
If you've never visited Pretty Handy Girl before, you simply must click over! Brittany is inspiring and empowering women everywhere to take DIY into their own hands. Super-fantastic blog.
If you enjoyed this post or found it helpful, I hope you'll click your "Pin It" button to add this post to Pinterest, or a +1 for Google+. And I always appreciate kind comments!



Amanda, I have seen these pears at Ballard. You did a fabulous job!. Thanks for providing the tutorial. I love what glaze can do over paint. Instant age. Have a wonderful week.Love, Wanda
ReplyDeleteThose turned out so great! I love a good knock off craft!
ReplyDelete