**************************
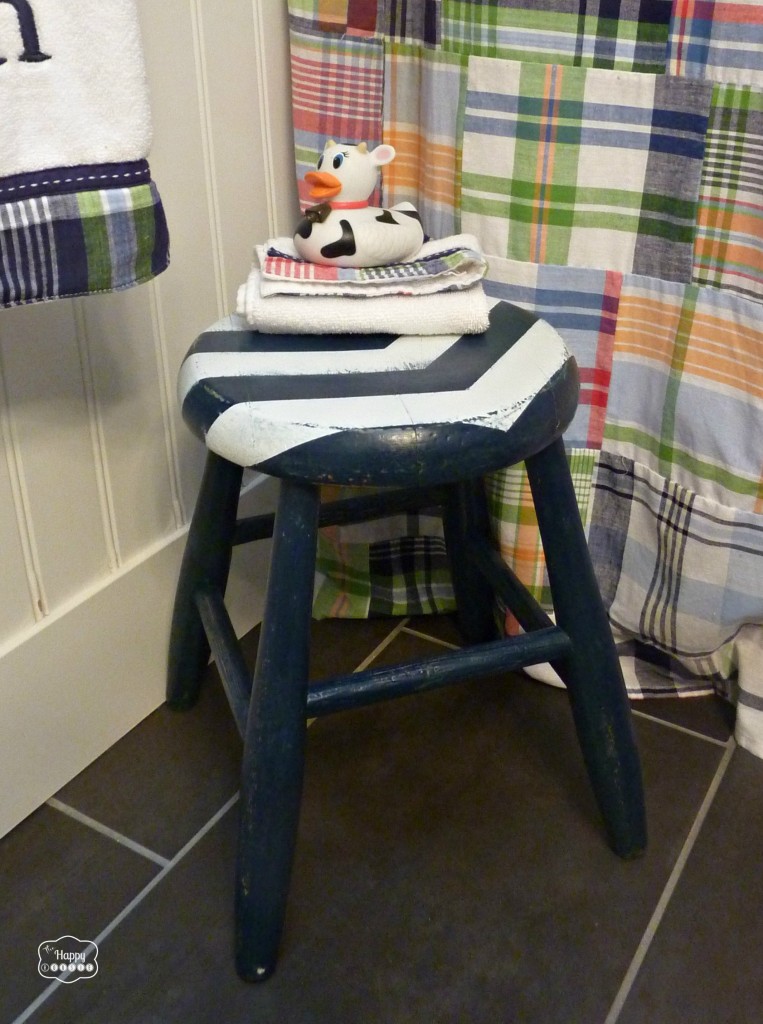
Hello readers of Serenity Now! I'm Krista from The Happy Housie and I am so excited to be here today sharing a DIY Arrow Striped Stool painting project that I recently did to add to our son's nautical style bathroom.
Thank you so much to Amanda for having me here today! As I said, I spend most of my bloggy time over at The Happy Housie . I called my blog this because I think of myself as a "housie"; someone whose hobby is all kinds of house related stuff like decorating, crafting, organizing, and DIY projects. And it is one of those projects that I am here to share with you today!
To do this project I used:
- an old stool that I picked up at a garage sale
- Navy and White Krylon Spray Paint
- Frog Tape Painters Tape
- Sandpaper
- Minwax Furniture Wax and a soft cloth
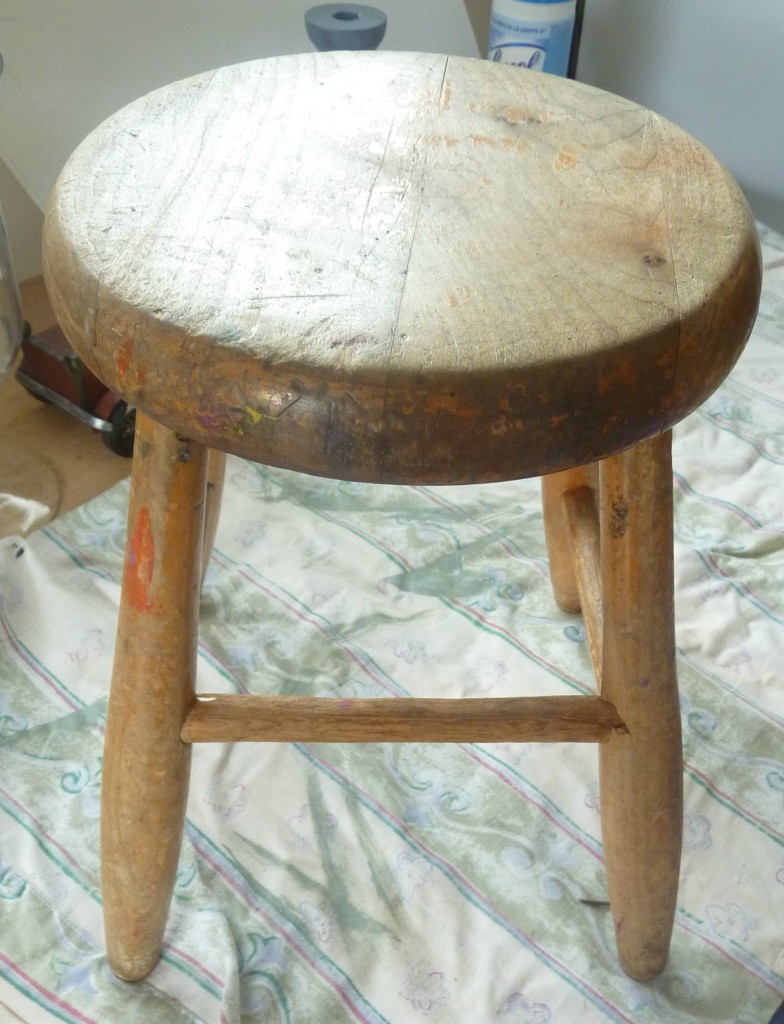
I picked up this cute little vintage stool at a garage sale for $2. It was in pretty rough shape...
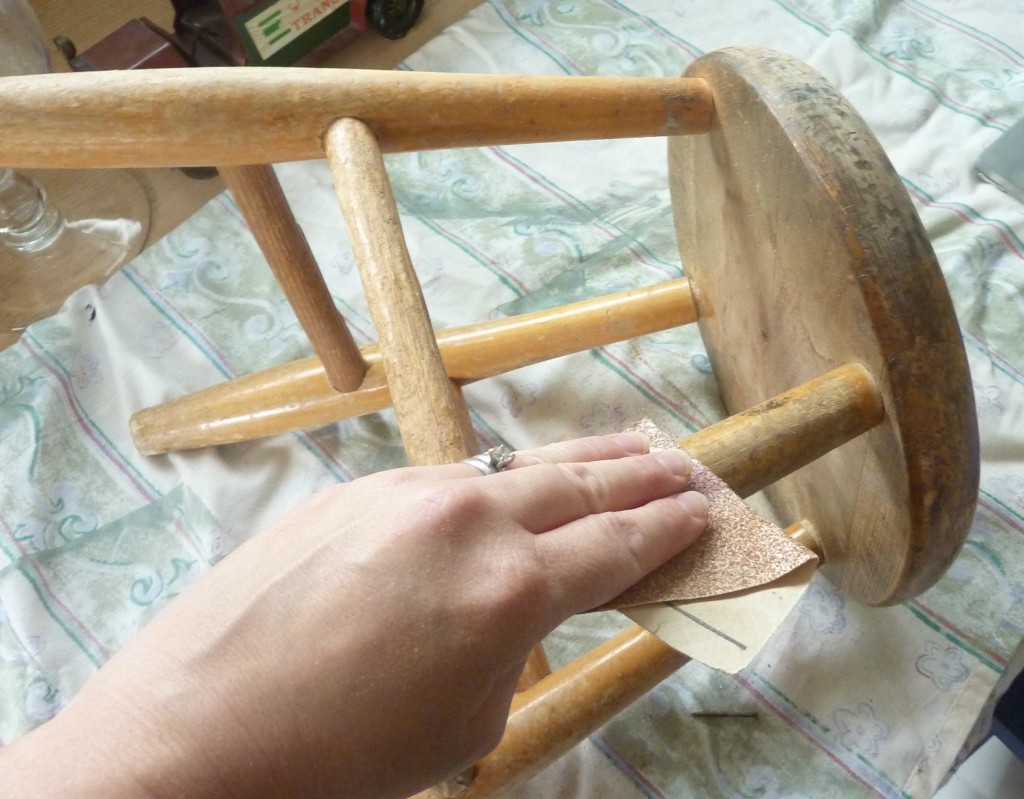
I gave it a sanding with some medium grit sandpaper...
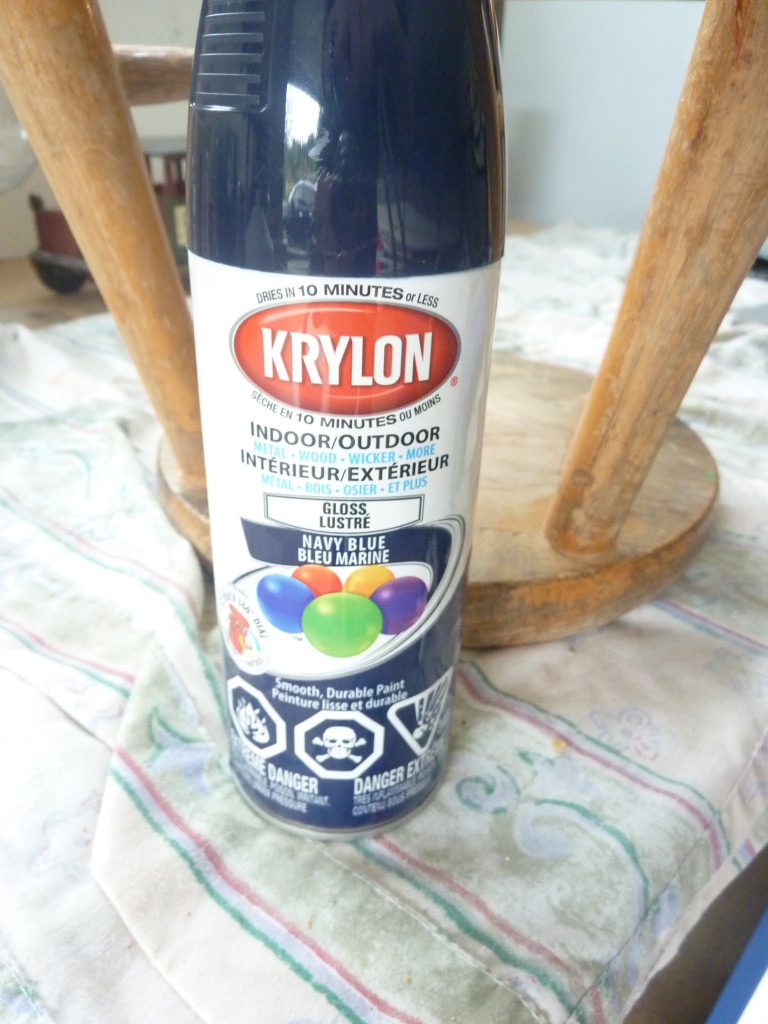
Once I had wiped it down, I gave it a few coats of navy blue spray paint....
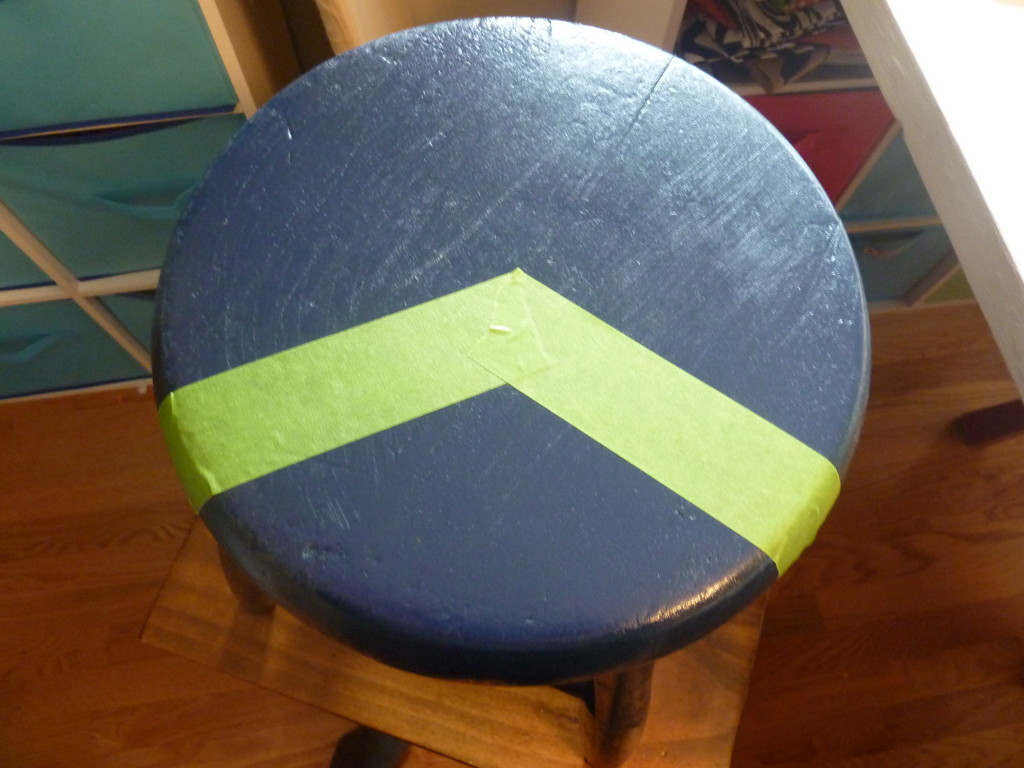
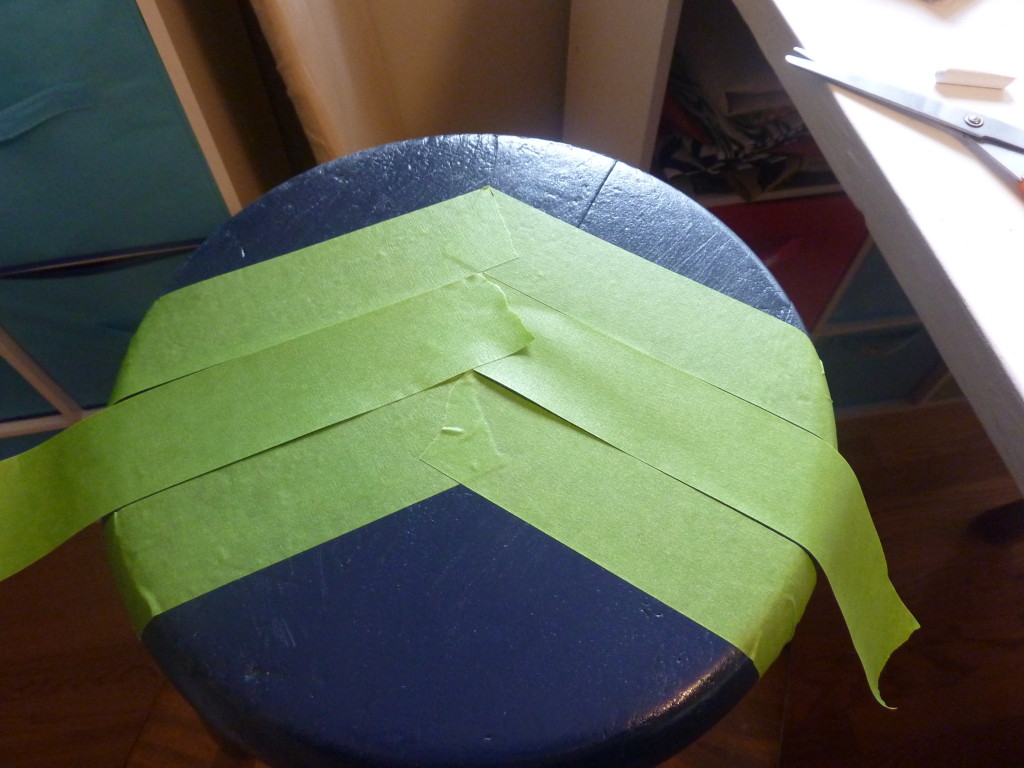
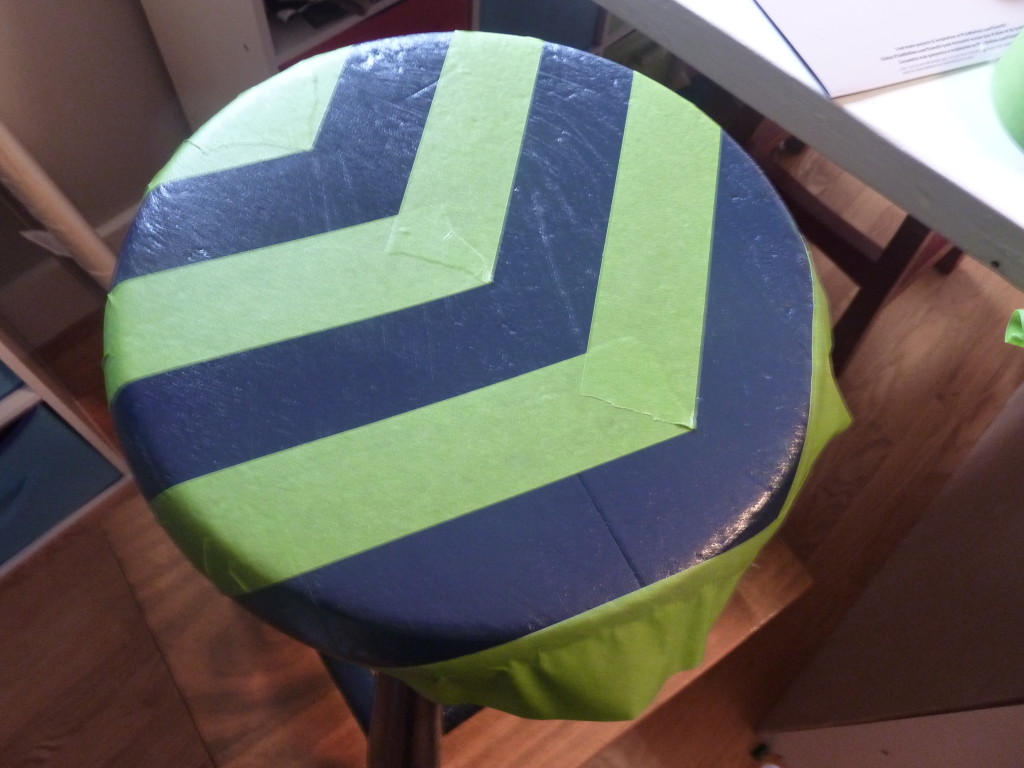
After I let the navy blue cure for a few days, I taped out an striped arrow design on the top, using the frog tape as a spacer between each "arrow"....
I rubbed the edges down carefully to ensure the tape was well adhered and then gave the whole top of the stool an overall coat of white (protecting the legs of the stool with an old towel).
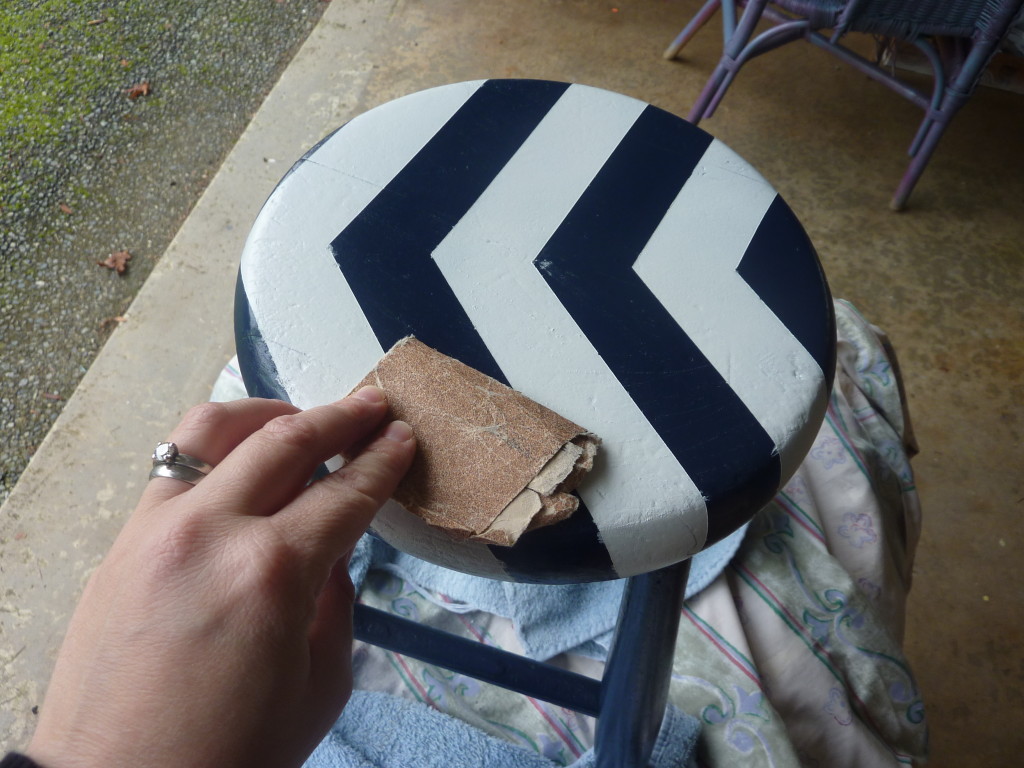
Once dry it looked like this....
A few tiny spots where the paint had leaked under the tape... but I had wanted to distress the whole stool anyway because it was clearly in rough shape underneath the paint job so I felt it would suit a distressed finish the best.
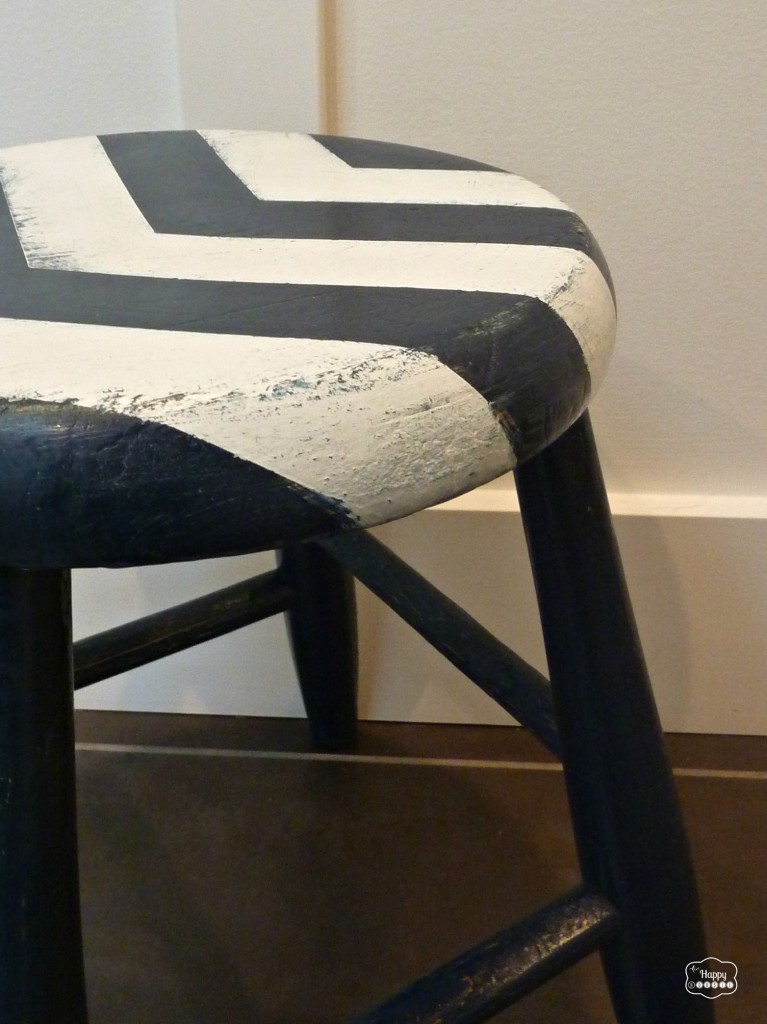
I gave the whole thing an overall sanding once the white spray paint had had the chance to dry... in spots where I sanded over the white the underneath navy blue began to show through. In other spots the original wood tone showed through the distressing.
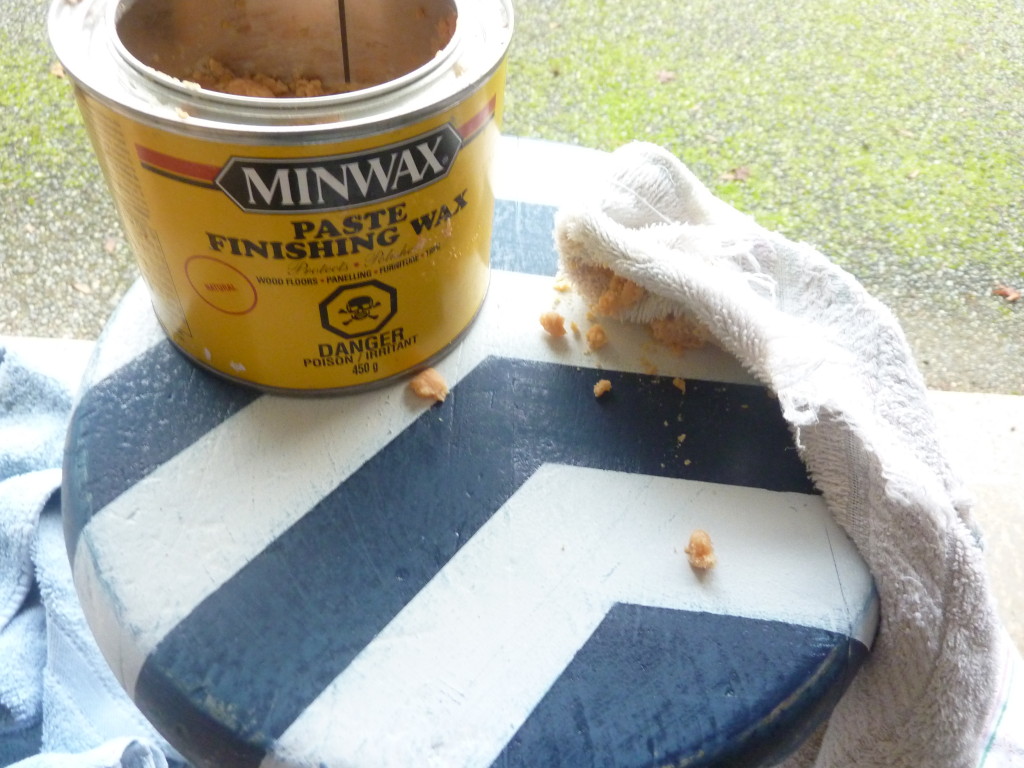
Once the sanding was done, I wiped the stool down and gave it a coat of furniture wax using a clean soft cloth:
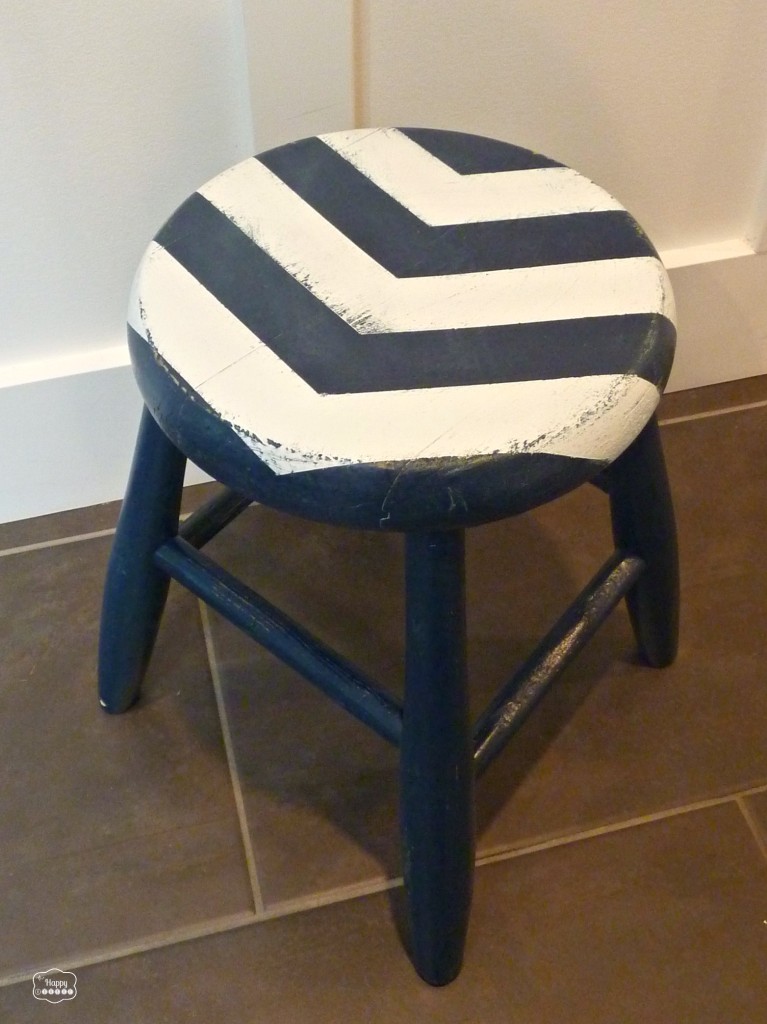
Done!
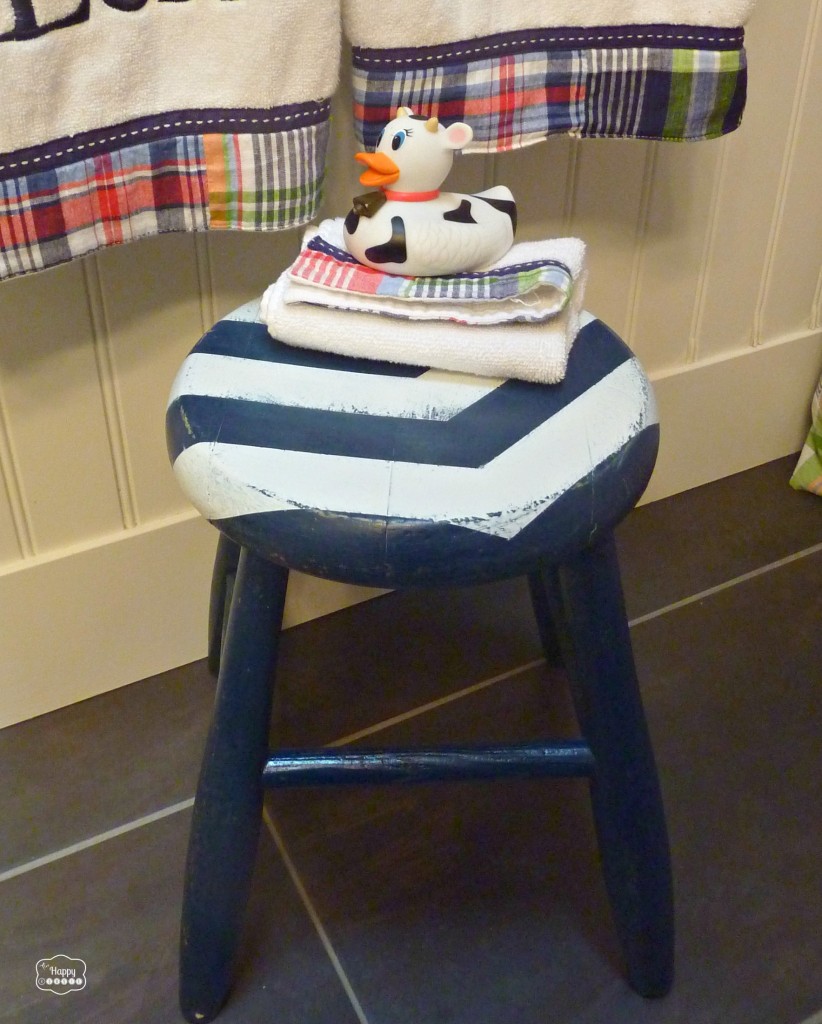
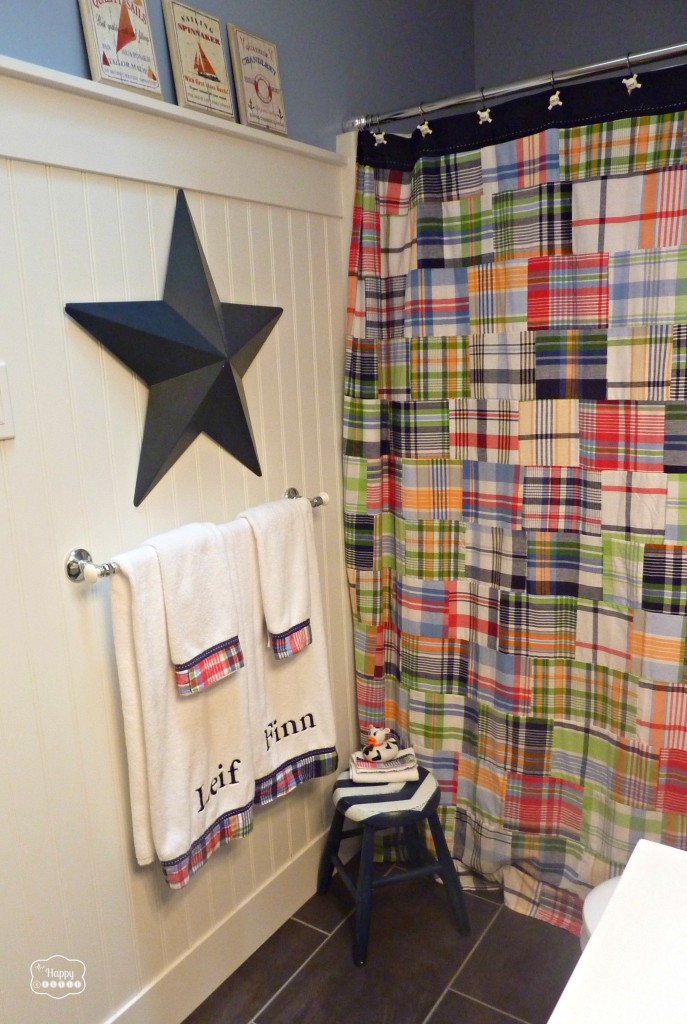
I really like the rustic finish and think it suits the feel of my boys' vintage nautical style bathroom design...
This little stool has been the perfect finishing touch to our boys' bathroom as now my little guys can easily reach the sink to wash their hands and brush their teeth. And it is the perfect tiny size and shape for such a small space!
If you want to learn a little more about how we updated our boys' bathroom on a budget, head over to The Happy Housie today where I am sharing all about it!
Thanks again to Amanda for having me here today...I hope that you are completely enjoying your time with your new addition:)
Thanks for reading. And remember my housie friends, HOME isn't built in a day. Enjoy the journey.
The Happy Housie is a home décor and lifestyle blog that was named this because I must admit to you that I am a bit of a "housie"... (think foodie but for houses). I love all things related to houses: decorating, DIY, organizing, crafting, gardening, and more. I love sharing projects and ideas, and especially love finding old pieces and fixing them up to make them vibrant and beautiful again.
Thank you, Krista! I love your style!
**Psst! Don't miss yesterday's post with a Baby Sleep Tip! I shared about using white noise to help baby's sleep cycle!**
If you enjoyed this post or found it helpful, I hope you'll click your "Pin It" button to add this post to Pinterest, or a +1 for Google+. And I always appreciate kind comments.




Such a cute little stool - love the arrow top and the distressing!
ReplyDelete